
Cut this deeper or shallower depending on how high/low you want the finished neckline to be.

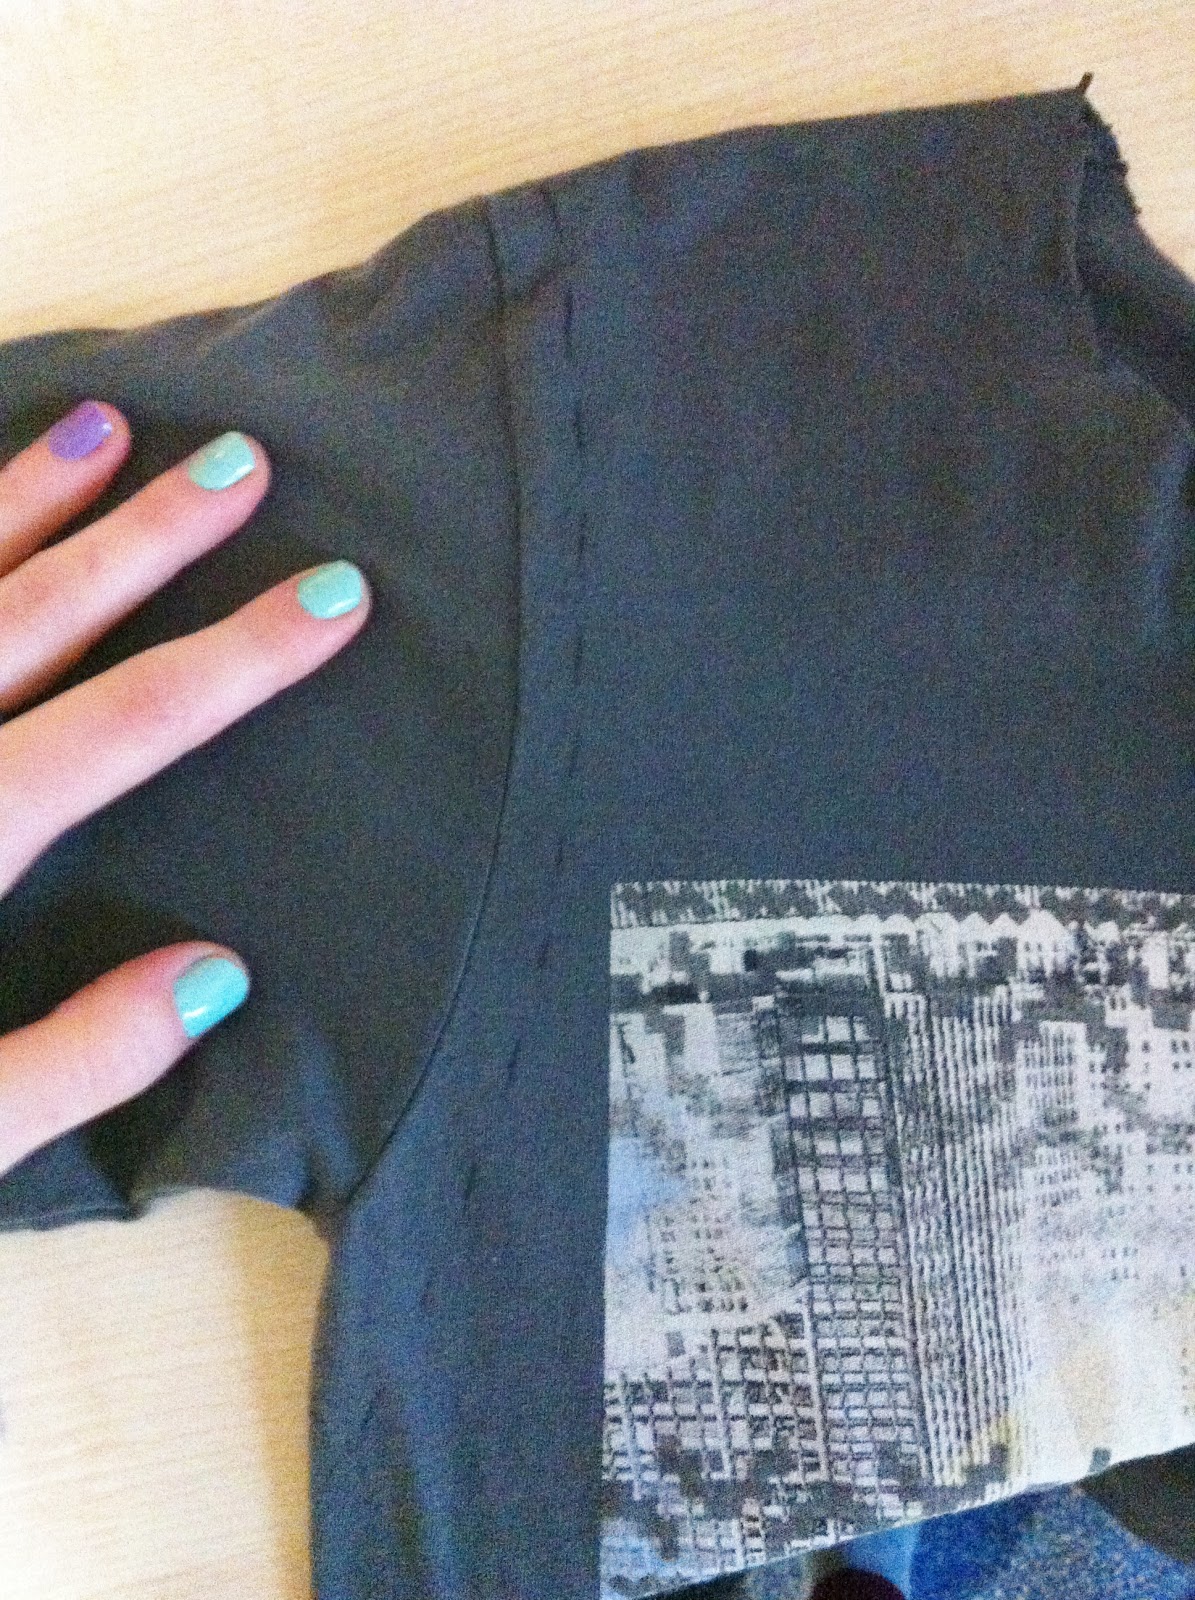

Step 3: Using a biro or chalk mark out the line where you will cut the sleeve off.
Mark along the shoulder the width that you want the strap to be, if unsure cut bigger and adjust later.
Follow the line of the sleeve down and go further past the armpit, the lower down you cut the more of your side will be visible.
Then follow along this line with the scissors, cutting the back and front of the shirt at the same time.


Step 4: Once you have finished cutting off the neck and sleeves, stretch out the fabric you have just cut. To do this just take the new edge in two places and pull, this will prevent fraying and will stop the edges looking rough and cut.
Once you have tried on the shirt you can adjust the sleeves/neck to suit.

Becuase it's DIY and anything could go wrong, the shirts I use are thrifted from charity shops and cost on average £2, so it doesn't overly matter if anything goes wrong and the money goes to a good cause.
No comments:
Post a Comment