Showing posts with label How to:. Show all posts

Tuesday, 3 December 2013

How To: Home Made Rocky Road


Ingredients:
500g Rich Tea Biscuits
300g Dark Chocolate
300g Milk Chocolate
200g Butter
300g Golden Syrup
200g Dried Fruit (I used cherries and dates)
120g Nuts (I used Hazel nuts and Pistachios)
100g Mini Marshmallows

1. Line a square/rectangle cake tin with cling film, leave some sticking over the sides of the tin.
2. Break the biscuits into small pieces.
3. Chop the dried fruit, nuts and marshmallows into small pieces.
4. Melt the chocolate, butter and syrup in a bowl over a pan of simmering water.
5. Remove the bowl from the heat and add the biscuits, nuts, fruit and marshmallows. Mix well.
6. Pour the mix into the tin and refrigerate for 6 hours.

Serves 16 approx.

Tuesday, 12 November 2013

Nail Painting Top Tip

I don't know about you but every time I paint my nails I get the nail varnish all over the skin surrounding the nail, which means it all looks super messy.
My top tip for fixing this is to dip the end of a cotton swab/bud into some nail varnish remover and carefully wipe it over the messy skin. Make sure you don't go too close to the nail and mess that up too!
This easy trick will leave your freshly painted nails looking neat and maybe even salon style!

Tuesday, 22 October 2013

Heatless Hair #2


1. Gather all of your hair into a high pony tail.
2. Place a bun donut over the pony tail and ensure all of the donut is covered before securing with bobby pins or a hair tie.
3. Separate the ends of your hair into two sections and plait each one. To plait separate each section into three and cross the outside pieces over the middle piece.
4. Wrap the two plaits around the base of the bun and secure with bobby pins.

DIY:  Make your own bun donut by using an old, clean sock. Simply fasten the sock into a loop and place over the pony tail. Then continue as you would with the donut.

Heatless Hair #1


In attempt to make my hair more healthy I have been seriously cutting down the amount of heat that I use to style it, which has lead me to find new and interesting hair style to try out this fall.
This first style simply involves dutch braiding your hair into a bun.

1. Part your hair into a deep side parting.
2. Dutch braid (or french braid if you prefer) the front two sections following the line of your head and ending at the ear. Finish each braid off by plaiting the hair to the tips. To dutch braid simply separate the hair into three sections and do a normal plait but taking a little bit more hair to the outer two sections each time you cross it under the middle section
3. Gather the rest of your hair into a bun and secure with bobby pins or a hair tie.

TIP: For an easier and neater looking bun try using a bun donut. Simply place the donut around your pony tail and ensure all of the donut is covered with hair before securing with a hair tie and wraping around the lose ends.
DIY: A bun donut can be made yourself by using an old, clean sock. Simply fasten your sock into a loop and place over the pony tail, then continue as you would with the donut.

Tuesday, 10 September 2013

Neutral Everyday Eye Look


Check out my latest YouTube tutorial on how to achieve a neutral everyday eye look suitable for school, college etc. Hope you enjoy!

http://www.youtube.com/channel/UCqIG4_5dg7tqS378SKmKh6g

Wednesday, 6 March 2013

How to: Making vests from t-shirts

Step 1: Lay the shirt flat and cut a slit the length of the neck.
Cut this deeper or shallower depending on how high/low you want the finished neckline to be.
 Step 2: Cut along from the slit all the way around the neckline, keep the line as even as possible.

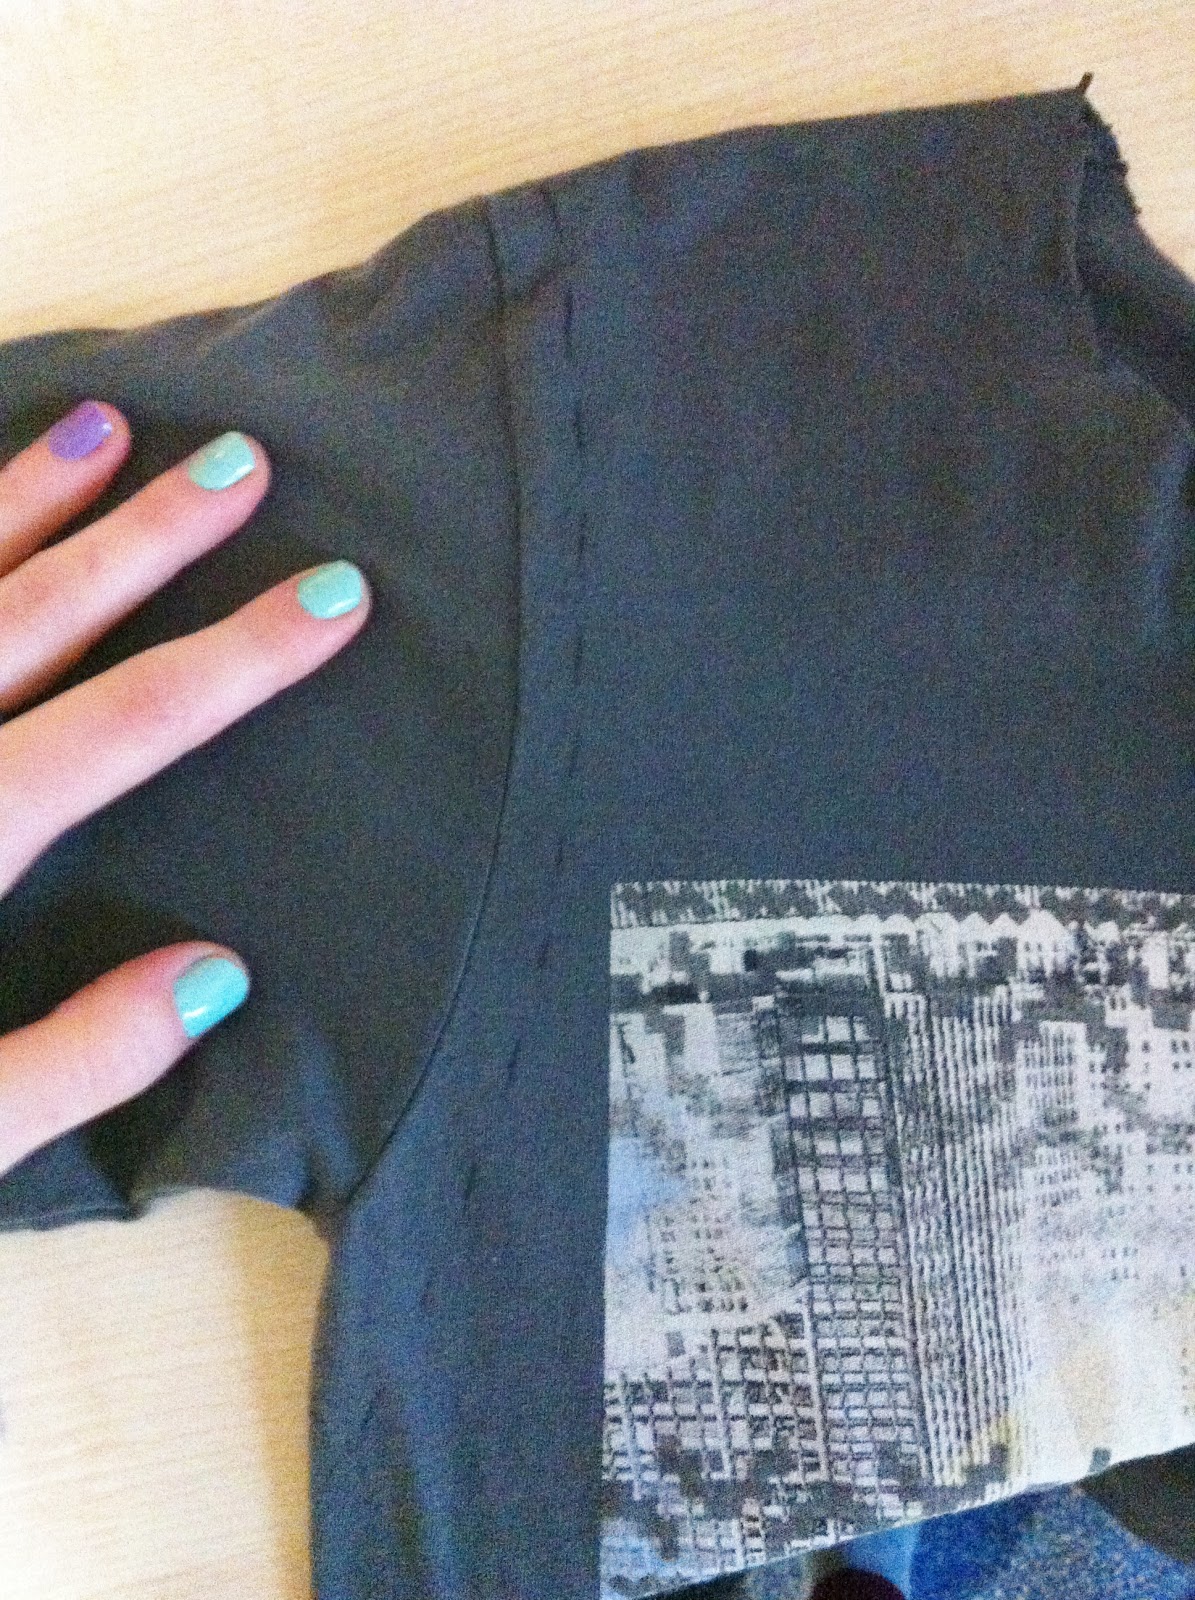
Step 3: Using a biro or chalk mark out the line where you will cut the sleeve off.
Mark along the shoulder the width that you want the strap to be, if unsure cut bigger and adjust later.
Follow the line of the sleeve down and go further past the armpit, the lower down you cut the more of your side will be visible.
Then follow along this line with the scissors, cutting the back and front of the shirt at the same time.

Step 4: Once you have finished cutting off the neck and sleeves, stretch out the fabric you have just cut. To do this just take the new edge in two places and pull, this will prevent fraying and will stop the edges looking rough and cut.
Once you have tried on the shirt you can adjust the sleeves/neck to suit.
I always find this style of shirt works best with graphic tees such as band shirts etc.
Becuase it's DIY and anything could go wrong, the shirts I use are thrifted from charity shops and cost on average £2, so it doesn't overly matter if anything goes wrong and the money goes to a good cause.